In the dynamic world of music production, tools and plugins have transformed the art of mixing. Amidst this innovation, one method stands out as a remarkably potent technique for elevating your tracks to new heights – automation.
In this article, we delve into the profound impact of automation, unveiling its effectiveness in shaping and refining musical compositions with unparalleled precision.
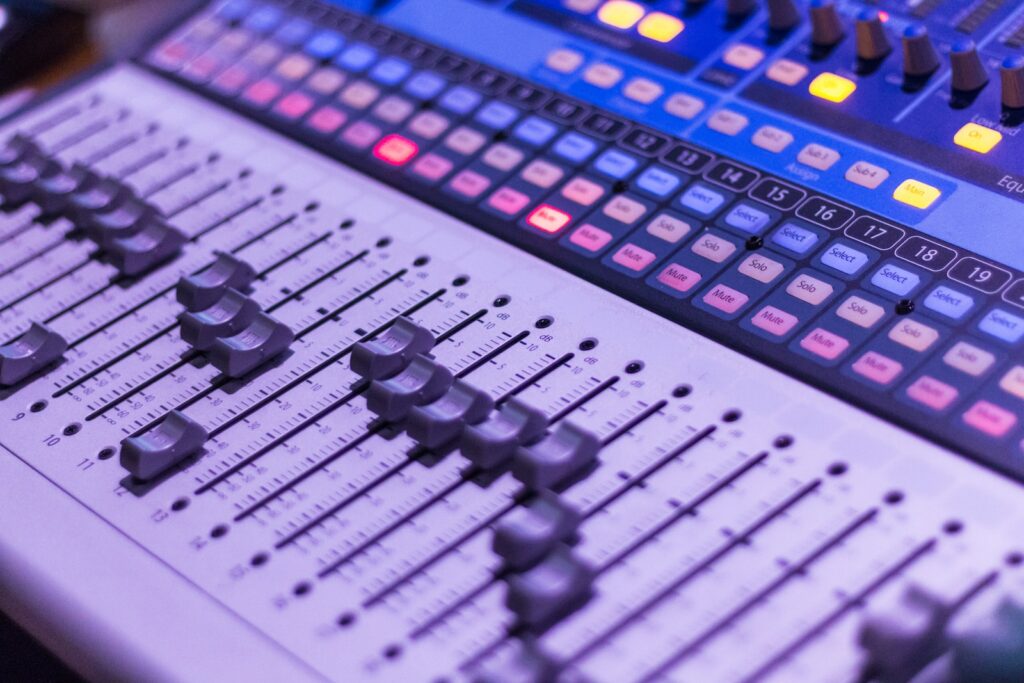
Automation is the act of making changes to your audio throughout the song. Unlike plugins, you can use automation to address issues or add flare to some parts of the song.
Many Digital Audio Workstations (DAW) come with automation. While their layouts can vary, they all provide the same features.
The two most common features are the read and write automation.
Write automation is what allows you to automate whatever it is you want to. Read automation enables the automates to be heard during playback.
Level Automation
The automation many are familiar with is level automation, which affects volume.
There is a volume adjustment tool, also known as a fader, you use to adjust the audio’s volume. You can make the necessary adjustments if it is too loud or soft.
But what if only a section of the audio is soft? Won’t raising the fader make the rest of the audio louder?
With level automation, you can target that section to make it louder while keeping the rest as is.
Now there is a plugin you use to keep audio sounding consistent called compression.
Compression is used to minimize the distance between the loud and soft parts. You also use compression to prevent audio from being too loud (peaking).
This should do it, but there might be times when the audio is still too soft. If that is the case and your compressor doesn’t come with make-up gain, you can automate the volume instead.
Using level automation means you don’t have to overly compress your audio. Overly compressed vocals won’t sound natural and be off-putting. By automating, you can go for a softer compression setting.
That way, your vocals still sound nice while balanced.
Apart from practical uses, it can also be a way of spicing things up in your song.
You can automate a track to slowly increases or decreases in volume. It’s effective for adding build-up from verse to chorus.
By slowly decreasing the volume, you’re creating a fade. Fades make for a smooth and subtle way of ending a song.
Volume adjustment isn’t the only automation you can do.
Panning
Panning is great for changing up an audio’s stereo image. This involves placing the audio either on the left or right.
Ever wonder how you can hear an instrument only on one side? That is all thanks to panning.
You also have the choice to not set it far to the left or right. You can set it to be a more specific percentage, like 50% to the left or right.
Double-Tracking
A common technique is double-tracking electric guitars. Double-tracking is when you record a guitar take twice, one for each track.
Let’s say you finished recording the rhythm guitar riff for the chorus. Create a new track and record another take of you playing the same part.
After that, you hard-pan one track to the left and the other to the right. This makes your guitar sound bigger and gives off a stereo feel.
It is important to remember not to record one take and copy-paste it to the other track. Even if it is the same riff, it has to be two different takes.
This doesn’t just apply to guitars. You can use this technique on vocals as well.
Vocal Doubles
Double tracking and panning can be used for mixing vocal doubles.
Vocal doubles are different takes of the same vocal melody. They are usually added to the chorus and some parts of the verses to add excitement and space during that part.
Like with guitars, they have to be different takes. Copy-pasting the main melody will make for stale mixes.
Once you recorded the takes, hard pan one to the left and the other to the right. Another thing to do is to lower their volume.
Movement
Let’s say you want to try adding some movement to your sound.
Think of a drum fill or a synth section that moves from left to right. While it might be tricky to pull this off with stock plugins, there are third-party plugins that provide that specific function.
Automating FX
Volume and panning aren’t the only things you can automate. Truth be told, you can do the same for effects.
If you want to use effects for certain sections and not the entire song, you can automate them to be more prevalent in the parts you want them to be.
An example would be for effects like chorus or flanger. You might want to only use them for the second verse and not the rest of the song. You can automate them to only appear in the second verse.
Benefits of Automation
So why should you use automation? Well, the previous techniques speak for themselves. After all, knowing more techniques benefits both you and the songs you make.
Creativity
Your creativity as a musician and producer gets enhanced when you pick up on automation.
Now you can move audio to the left or right or create transitions. All you have to do is adjust the volume.
You can now make your tracks sound more creative and exciting. Plus, you can do more complex techniques once you understand them better.
Convenience
It’s much more convenient to automate an audio level. You don’t need to record a different take.
You can use automation to increase the volume of a weak part if the audio take has no mistakes.
Doing this trick will definitely save up on recording and mixing time.
Simple Trick, Effective Results
Automation may look simple, but that doesn’t mean it won’t make your tracks stand out and shine.
From volume adjustment and panning to even creating transitions, there’s much more to them than just simple fixes to a mix.
Give it a shot. I’m sure you’ll see its potential.