While Logic Pro X comes bundled with some of the best stock plugins on the market, there are also tons of great third party tools that will work seamlessly with the DAW, improving your sound and your workflow.
From channel strip emulations to acclaimed MIDI instruments such as the Xfer Serum synthesizer, being able to have these custom plugins in our library gives us digital music producers infinite possibilities and fresh sounds at the press of a button.
Today, we will teach you how to add plugins to Logic Pro X, as well as some of the best third party ones, free and paid, that you can download right away. We will also help you to easily troubleshoot the most common problems that can pop up in the installation process.
If you want to learn more about all the possibilities and audio production tools that the Apple software offers, head over to our Logic Pro X Review guide and check as well all of our related articles.
How to Install plugins logic pro x [Best Way]
To install plugins in Logic Pro X, go to the preferences menu, select the “Plug-Ins” tab and click “Scan for Plug-Ins.” Once the scan is complete, the new plugins will be available for use in the software.
How to Add Plugins to Logic Pro X – 2 Easy Steps
Adding plugins to Logic Pro X is very easy, but follow the steps carefully to ensure that everything is working correctly. Note that Logic Pro can only support audio units (.au) files and not VST ones.
- Find Your Plugins Folder
If the plugin you’re installing doesn’t come with an installer, go to Macintosh HD > Library > Audio > Plug-Ins > Components and drag or paste your plugin file in there.
Alternatively, you can right-click your Finder icon on your dock and then select “Go to Folder…”. A window will pop up prompting you to input your folder location. Use the following command without quotes: “/Library/Audio/Plug-Ins/Components”. This will take you straight to your components folder.
- Open Logic Pro X
Simply open Logic Pro X and your third party audio units will start to be scanned automatically. Create a track and insert your plugin into the channel slot to see if everything is working correctly. If you can’t see it on the plugins list, we will explain how to solve the most common issues below.
Tip: If you want to improve your workflow in Logic, please check our Logic Pro X Shortcuts article.
Common Problems When Installing Plugins in Logic Pro X and How to Solve Them
There are a few problems that may happen when you install third party music plugins into Logic Pro. Usually, they are related to some extra safety measure prompted by your Mac when you install new software, so they are easy to solve.
The most common issue is when your freshly installed plugin is not showing up on the menu. The first thing to do is to double-check that you’ve placed the audio unit file in the right folder. Next, restart your computer: some plugins need you to do this to register correctly into the system.
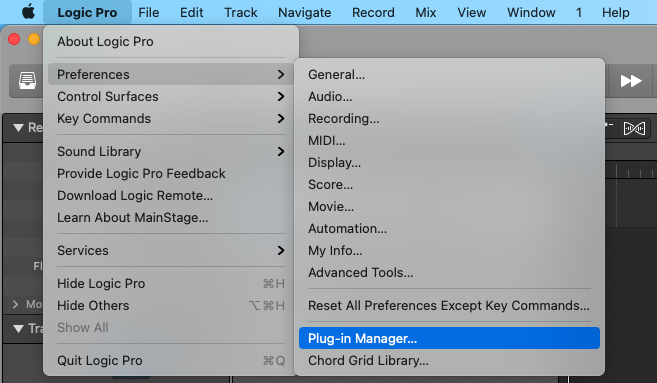
If you still can’t see it, open the DAW, click on the Logic Pro menu at the upper left side of your screen, expand the Preferences section and click on Plug In Manager. In this window, you can see all of the components in your Logic’s library.
Now, search for the plugin you’re trying to install and locate the Compatibility column. It will probably say “couldn’t be opened”. In this case, the first thing to try is to highlight it on the list and press the button “Reset & Rescan Selection”. Check if it works now.
If even after doing this your freshly installed components are still not showing up, go to your System Preferences app and select Security and Privacy. Notice at the bottom of the window if you see any message prompting you to authorize your plugin. If you do, just click on Open Anyway and input your password.
So let’s sum up the steps for troubleshooting problems with plugins in Logic Pro X:
- Check if the audio units files are in the right folder.
- Restart your computer.
- Open your Plug In Manager (Logic Pro > Preferences > Plug In Manager), locate your plugin, and click on Rescan Selection.
- Open the System Preferences app, go to Security and Privacy and check if there are any prompts for authorizing the plugin.
Extra Tip: Always make sure that you have the latest version of the plugin installed.
Essential Plugins You Need to Have on Your Logic Pro X
Now that you’ve learned how to install plugins in Logic Pro, let’s look at some of the best ones you can download to your computer, both free and paid. Keep in mind to look for the right file format for Logic plugins which is audio unit (.au).
Free
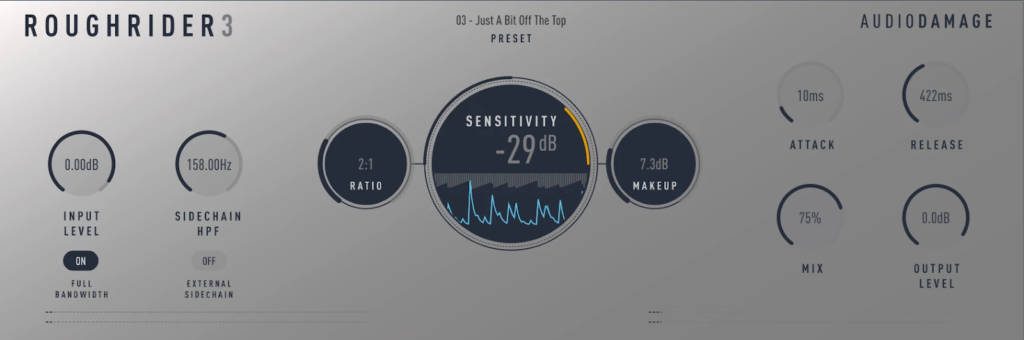
Audio Damage Rough Rider
This is one of the most acclaimed free compressor plugins on the internet. Rough Rider will work flawlessly to control the dynamics of any instrument (bass, guitars, vocals, etc.), as well as for parallel compressing your drums. Also, try using it for sidechaining your bass to your kick drum and for gluing instrument busses together. Download.
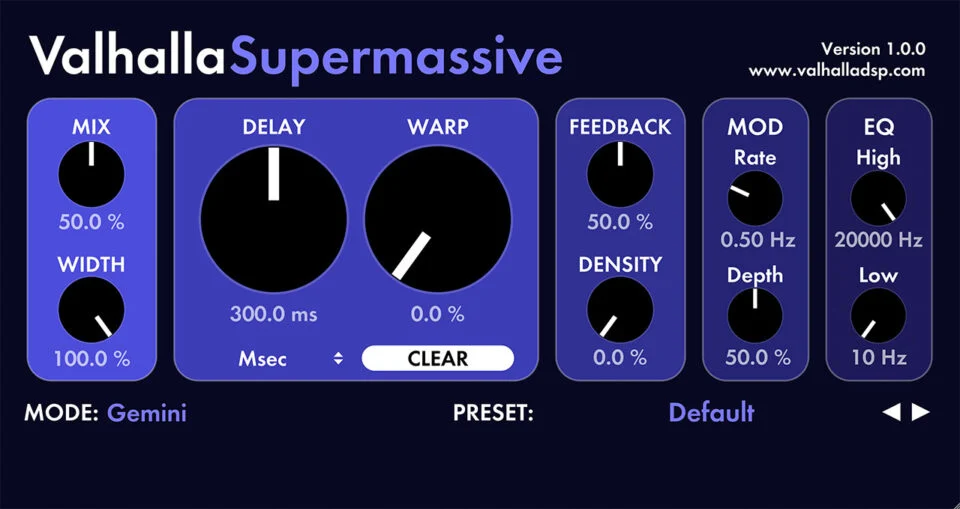
Valhalla Super Massive
This is a plugin like no other. From the same creators of the acclaimed VintageVerb and ValhallaRoom, the Super Massive is a creative reverb/delay unit designed to emulate unusual and dreamlike spaces. Great for giving your synths, guitars, and music, in general, a touch of psychedelia. Download.
Also check: Valhalla Freq Echo and Valhalla Space Modulator.
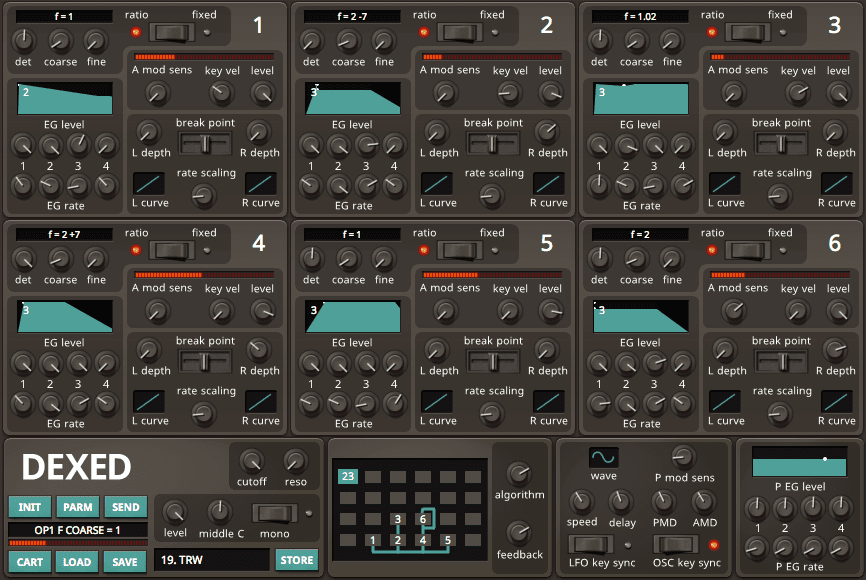
Dexed
The Dexed plugin by Digital Suburban is an emulation of the widely acclaimed Yamaha DX7. If you’re into making synthwave, retrowave, or 80’s inspired pop music, this free gem is a must-have in your studio. It also comes with all the presets featured in the original hardware DX7 unit. Download.

Ample Sound ABPL II
Sometimes producers can’t play a bass part or hire a professional bassist to do so: that’s where ABPL II from Ample Sound comes in handy. The MIDI plugin is a very convincing and easy-to-use emulation of the Fender Precision Bass. Try pairing it with the Pedalboard and Bass Amp stock plugins for a pro sound. Download.
Paid

Xfer Serum
Serum is one of the most acclaimed and versatile virtual instruments there is. With this wavetable synthesizer, you can easily get any kind of sound you want: from roaring basses to dreamlike analog pads. The price tag is a little high but it is worth the investment. Download.
You can also get this plugin via the Splice Rent-to-Own program for 9.99/month. If you’re on a budget, some good free alternatives to Serum are the Tunefish Synth and the Vital.
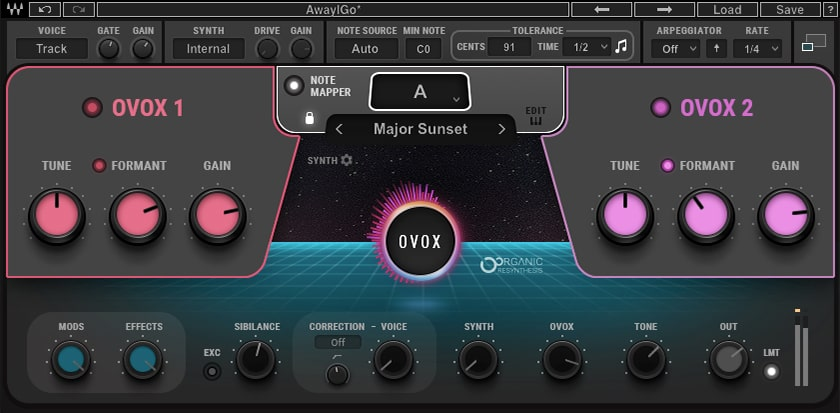
Waves Ovox
Waves is a well-known name in the music production game by now, and Ovox is one of their best plugins up to date. It is a one-of-a-kind vocoder suitable for all kinds of applications in any genre: for creating funky talkbox-like licks to modern pop vocals that shine in the mix. Download.
Tip: For an easy guide on how to create a fade-out effect in Logic, check out our guide: How to Fade Out in Logic Pro X.
Summary
This was our guide on how to add plugins to Logic Pro X. The process is very easy as you could see, but double-check everything to ensure that there are no problems. If you ever run into an issue, go through all the troubleshooting steps carefully and you should be able to successfully install new tools into your DAW.
If you want to download great, free third party plugins, there is a website called Plugins4Free with an extensive library. In the future, you can also invest in paid options, and we recommend companies like iZotope, Waves, Xfer, and Softube.We hope this guide was helpful. If you want to learn more about Apple’s Logic software, make sure to check all of our related articles. Feel free to ask if you have any more questions!
Ian Sniesko is an experienced music producer and musician who loves to share his knowledge about the best audio equipment for making and enjoying great music. For the past 6 years, Ian has written extensively about the audio equipment industry and has contributed to many of the top music magazines.