While producing and recording music in Logic Pro X, you want to make the process as easy as possible so as to speed up your workflow and be able to focus on what’s really important: being creative.
Luckily, the software offers us several shortcuts that you can use to perform a wide variety of tasks, so you don’t have to click with your mouse every time you want to record something, for example.
But, the list of key commands is huge and not always easy to remember. That’s why today, we will list some of the most essential Logic Pro X shortcuts you should know for an improved workflow, as well as show you step-by-step how you can create your own key commands within Logic.
At the end of this article, we also included a few shortcut gadgets that you can add to your setup to boost your workflow even more.
Related: Check out our recently updated Logic Pro X Review 2021 to learn more about the DAW.
Essential Logic Pro X Shortcuts Which Will Make Your Life Easier
We are going to divide the most essential Logic Pro shortcuts into different categories, and explain in detail what each one does so you can better apply them in your music production routine.
Table Of Contents
- Basic Commands
- Playback & Global Commands
- Exhibition Commands
- Organization Commands
- Tool Menu Commands
- Exporting/Bouncing Commands
- Selection Commands
- Marker Commands
- Punch Recording Commands
- MIDI Regions Commands
Basic Commands
These are the most quintessential ones to ensure a smoother workflow. You’re probably familiarized with some of them such as Command C/X and Command V, but they’re also worth recapping.
- Command C: Copy
- Command X: Cut
- Command V: Paste
- Command Z: Undo
- Command Shift Z: Redo
- Command S: Save
- Command A: Select All
- Command D: Duplicate
- Alt/Option Command A: Create a new audio track
- Alt/Option Command S: Create a new software instrument track
- Alt/Option Command X: Create a new external MIDI track
- Command Backspace: Delete the selected track
- Command Shift D: Create a track stack containing the selected tracks
Playback & Global Commands
Basic key commands are used to control your track’s playback. For example, quickly playing your track from the beginning or looping a selected region inside your arrangement.
- Enter: Play
- .: Pause
- Space: Play/stop
- ,: Go to beginning
- Shift Enter: Play from left window edge or beginning
- S: Solo selected track
- Alt/Option S: Set solo lock mode (useful if you want to solo multiple tracks at once while navigating with your arrow keys)
- C: Cycle length (loop a selected area in the arrangement)
- K: Enable/disable metronome
- R: Record
- Shift *: Record/record toggle switching
- Shift R: Capture as recording (captures the most recently played MIDI notes on any MIDI instrument).
- Command U: Set locators by regions/events (will cycle/loop the entire length of your selected region, event, or track).
- U: Set rounded locators by regions (same as the previous key command, but will round the value to the nearest beat).
- Shift Command .: Move locators forward by cycle length (will move your cycle forward on the arrangement)
- Shift Command ,: Move locators backward by cycle length
- Shift Command R: Repeat section between locators (will duplicate the regions between your selected locators)
- Ctrl Command O: Toggle current track automation read or off
- Ctrl Command O: Toggle current track automation latch or off
Exhibition Commands
These are commands for quickly showing or hiding a certain tab in your main window. For example, press X to show the mixer or P to bring up the piano roll.
- A: Show/hide track automation
- P: Show/hide piano roll
- O: Show/hide loop browser
- B: Show/hide smart controls
- X: Show/hide mixer
- Y: Show/hide library (for browsing your Mac’s MIDI and audio files, projects, etc)
- W: Show/hide audio file editor
- N: Show/hide score editor
- G: Show/hide global tracks
- Command K: Show/hide musical typing window
- Command Alt/Option K: Show/hide step input keyboard
- Command F (with an audio track selected): Show/hide Flex Editor inside the arrangement
- H: Enable hide view
- Ctrl H: Hide selected track
- Ctrl X: Strip silence mode (will let you remove the silent parts of audio files)

Organization Commands
Key commands for quickly renaming and coloring regions.
- Shift N: Rename Regions
- Option C: Show/hide color selection window
- Shift Alt/Option Command N: Name tracks by region name
- Ctrl Shift N: Name regions by track name
- Shift Alt/Option C: Color region (by track color)
- Shift Alt/Option Command C: Color track (by region color)
Tool Menu Commands
Key commands for rapidly changing your current tool.
- T: Show tool menu
- Alt/Option Pagedown: Select next tool
- Alt/Option Pageup: Select previous tool
Exporting/Bouncing Commands
These key commands will let you quickly export, bounce or bounce in place any MIDI/Audio region.
- Command B: Bounce project
- Ctrl B: Bounce in place (regions)
- Command Ctrl B: Bounce in place (tracks)
- E: Export
Selection Commands
Used to select similar tracks and regions. For example, tracks of the same color. Using these can have a great impact on your workflow as you won’t have to wander around with your music selecting each track manually.
- Shift C: Select equal colored regions/events
- Shift C: Select equal colored channel strips (while on the mixer)
- Shift O: Select auxiliary channel strips
- Shift S: Select instrument channel strips
- Shift E: Select MIDI channel strips
- Shift M: Select muted regions/events
- Shift O: Select overlapped regions/events
Marker Commands
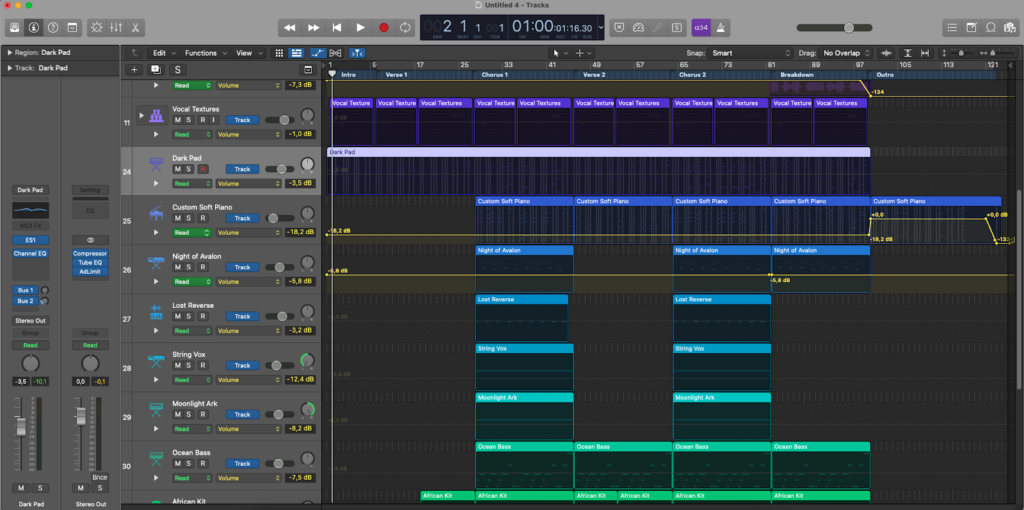
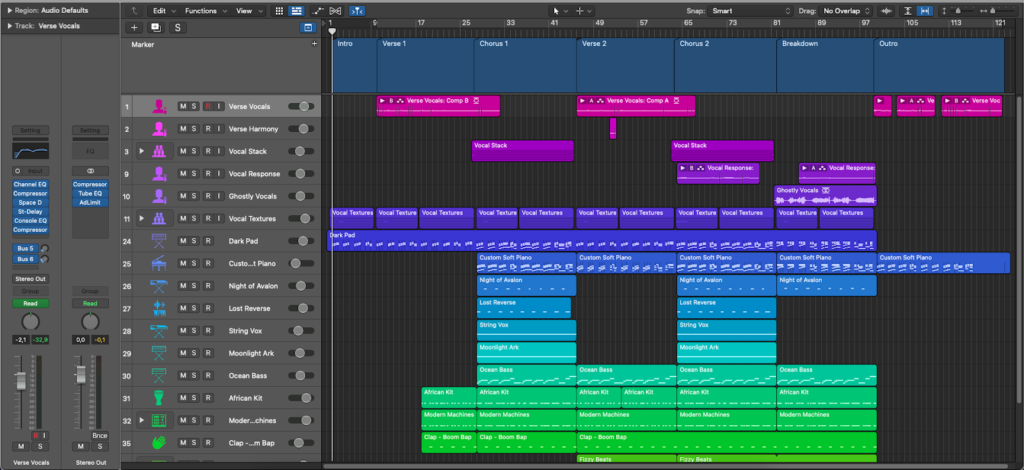
Markers are labels that can be useful to help you navigate across your track’s arrangement. They will appear in the upper part of your arrangement window, as shown in the picture, and can be quickly accessed via the following key commands:
- Alt/Option ‘: Create marker
- Alt/Option 0-9: Go to marker number 0-9
- Alt/Option Shift 0-9: Go to marker number 10-19
- Alt/Option ,: Go to the previous marker
- Alt/Option .: Go to the next marker
- Alt/Option Ctrl C: Set locators by marker and enable cycle
- Alt/Option Ctrl .: Set locators by the next marker and enable cycle
- Alt/Option Ctrl ,: Set locators by the previous marker and enable cycle
How to Create a Marker
Click on the Show/Hide Global Tracks icon or press G. Press the + button to create a marker and double-click to rename it. You can also move your markers around.
Punch Recording Commands
Punch recording is used when you want to re-record a part of a track quickly without affecting what’s coming before or after the selected locators.
- Alt/Option Ctrl Command P: Turn on autopunch mode
- Alt/Option Ctrl Command I: Set punch in locator by playhead
- Alt/Option Ctrl Shift Command I: Set punch in locator by rounded playhead
- Alt/Option Ctrl Command O: Set punch out locator by playhead
- Alt/Option Ctrl Shift Command O: Set punch out locator by rounded playhead
MIDI Regions Commands
These key commands can be used to alter MIDI regions rapidly, on the piano roll and on the main window.
- Alt/Option Up: Transpose region/notes 1 semitone up
- Alt/Option Down: Transpose region/notes 1 semitone down
- Alt/Option Shift Up: Transpose region/notes 12 semitones up
- Alt/Option Shift Down: Transpose region/notes 12 semitones down
- Q: Quantize
- J: Join regions while selecting two or more
Tip: If you want to learn how to master your own songs with Logic Pro X, our How to Master in Logic Pro X article may come in handy.
How To Create Custom Logic Pro Shortcuts
Sometimes creating your own custom key commands or changing existing ones is better for your workflow.
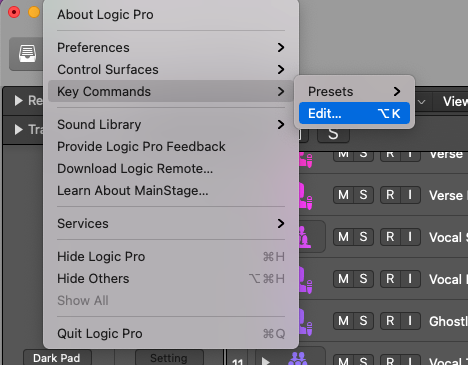
The process is pretty simple. First, expand the Logic Pro menu at the left upper side of your screen, then go to Key Commands and Edit… (or simply press Alt/Option K).
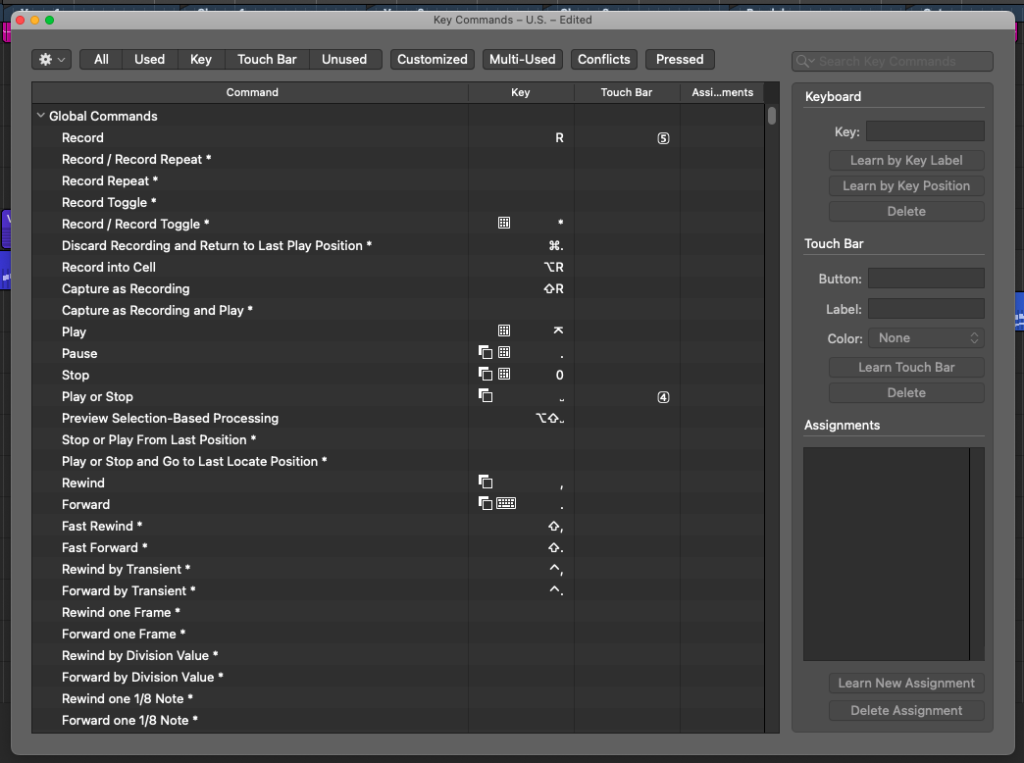
There, you will find a list of all the key commands available inside Logic Pro. You can also use the Search tool on the upper right to find your desired command, as well as sort them by Used, Unused, etc.
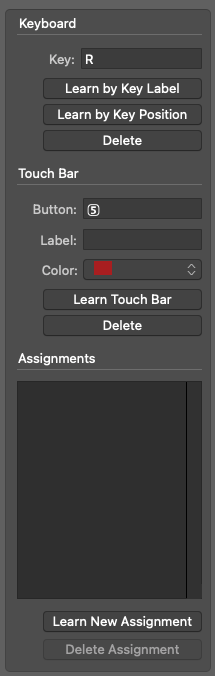
On the section at the right of the window, you can change the key command for triggering each function, as well as change touch bar settings (if your Mac has one) and assign MIDI controls using the Learn New Assignment button.

If there’s a conflict or the key command you’re trying to assign is already used by another function, you will be prompted by this message. There, you have the option to either accept it (but with exceptions on how you can use it, as you can see in the image), replace it, or cancel the change.
Tip: Learn how to add third-party plugins in Logic Pro with our How to Add Plugins to Logic Pro X article.
Bonus: Logic Pro X Shortcut Gadgets
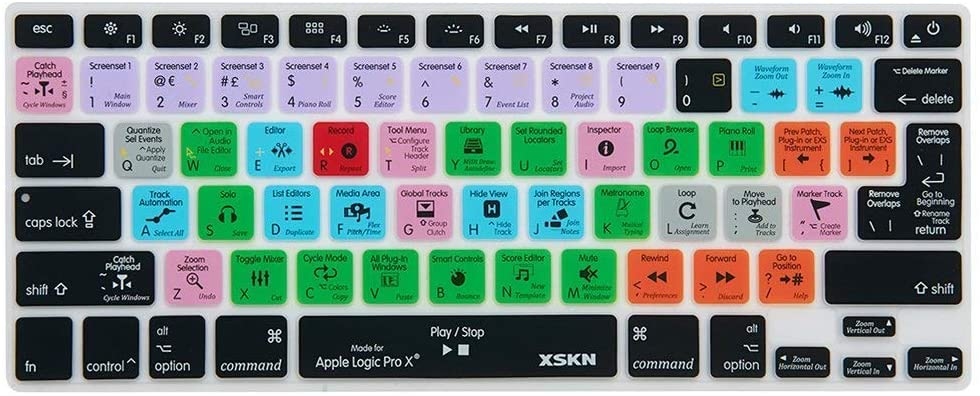
XSKN Logic Pro X Keyboard Skin for MacBook
This silicone keyboard skin is perfect for improving your workflow with Logic Pro X, as it has some of the most common key commands used within the software. It will work with any 13, 15, or 17 inch Macbook that has a standard US or EU keyboard layout.
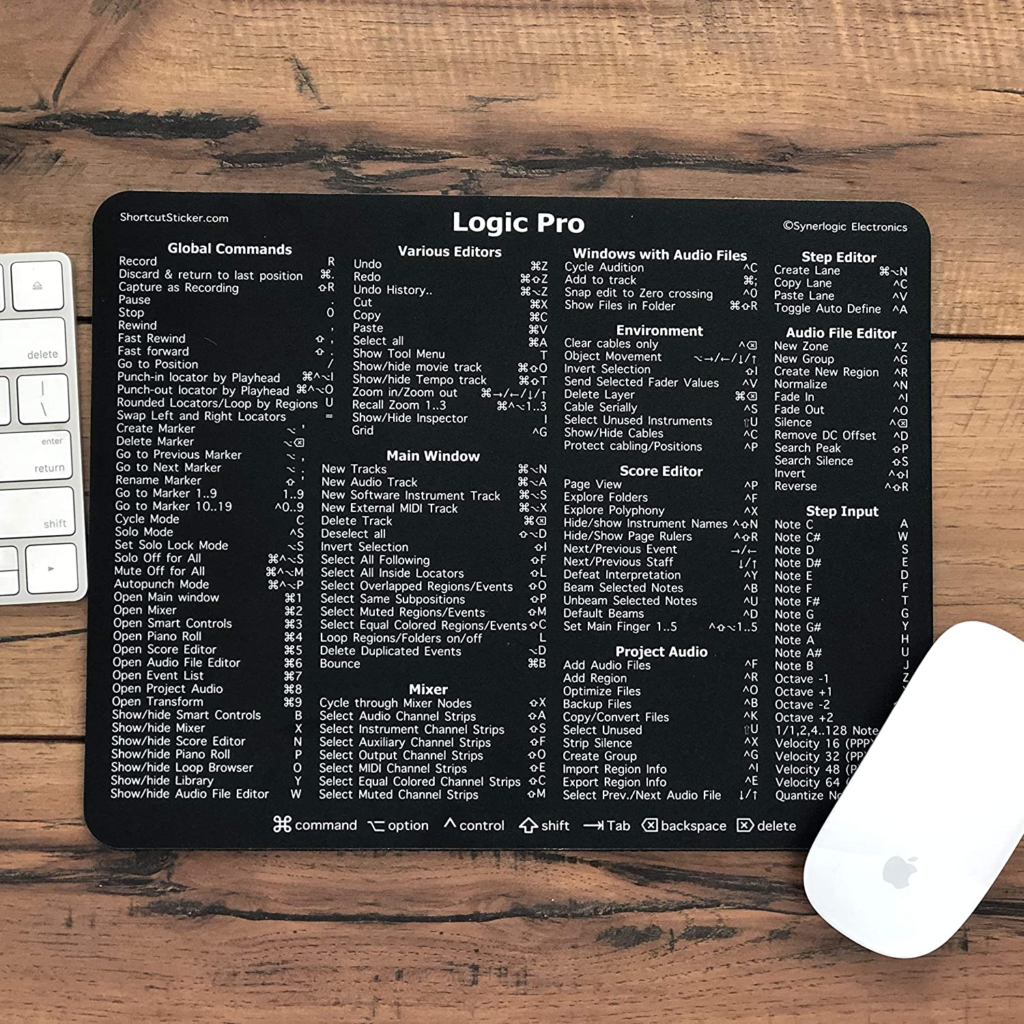
SYNERLOGIC Logic Pro Shortcuts Mousepad
A simple but useful addition to your setup, this mousepad from SYNERLOGIC features an extensive list of Logic Pro shortcuts for quick referencing.

LogicKeyboard Keyboard for Logic Pro X
The company LogicKeyboard makes shortcut keyboards for use with all kinds of software. This USB gadget is backlit and has built-in dual USB ports, as well color-coded keys depicting the most commonly used Logic Pro key commands.

Conclusion
In this guide, we listed essential Logic Pro X shortcuts that every music producer should know. These key commands can greatly improve your productivity and help you focus more on your music, rather than wasting time searching for functions inside the software.
We do also recommend that Logic Pro X users create their own custom key commands, and change any shortcut that they’re not comfortable with using since each person’s workflow is different.
We hope that this article was useful. You can also check Apple’s official Logic Pro User Guide if you’re looking for a specific key command that you couldn’t find in this guide. Feel free to contact us if you have any questions.
Ian Sniesko is an experienced music producer and musician who loves to share his knowledge about the best audio equipment for making and enjoying great music. For the past 6 years, Ian has written extensively about the audio equipment industry and has contributed to many of the top music magazines.